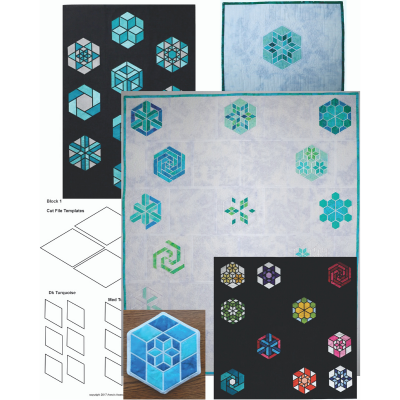
Description
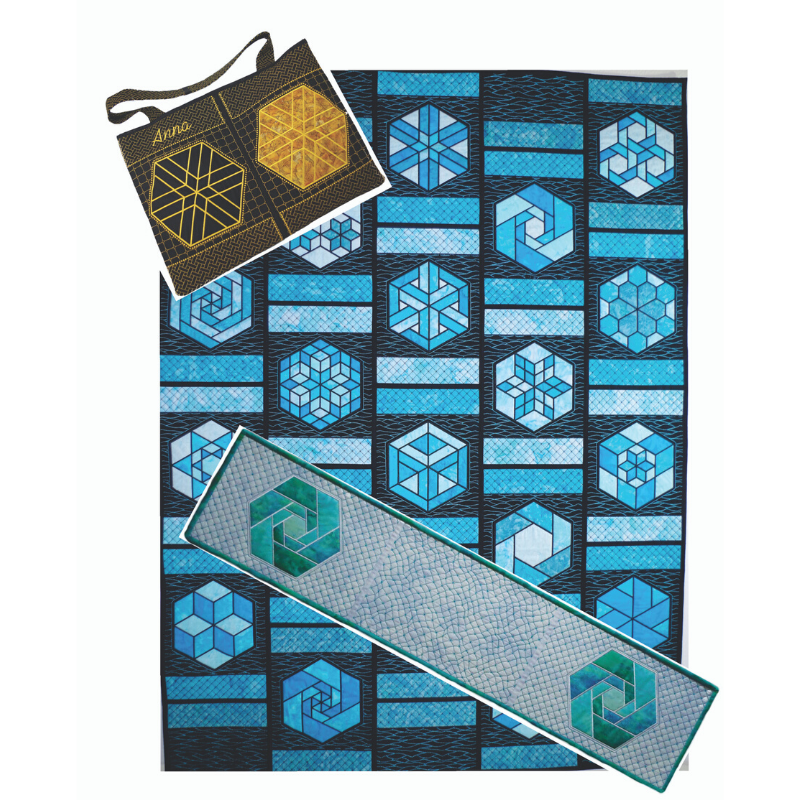
The Table Runner project will use several of the features of the Luminaire.
Using one of the twenty 9 ½” wide hexagon blocks included in this package, learn how to create an “Outline” and adding a “Fill” from My Design Center resulted in a quilted block. Use the Joining Strip technique to assemble the quilted blocks.
This project teaches how to:
1. Create an “Outline” around a design,
2. Transforming the “Outline” to a Tack Down Stitch.
3. Update the stitch sequence to complete the Mug Rug.
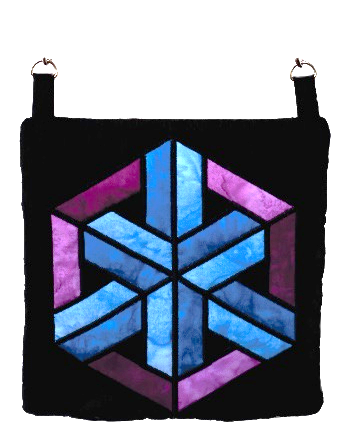
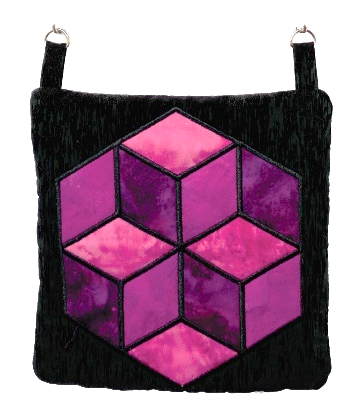
The Tote Bag project will use several of the features of the Luminaire.
Customize your own block by adding a name as well as a “Fill” to any of the twenty 9 ½” wide hexagon blocks included in this package. Consider stitching out the hexagon block without fabric or one piece of fabric. Use the Joining Strip technique to assemble the quilted blocks.
This project teaches how to:
1. Create an “Outline” around a design,
2. Transforming the “Outline” to a Tack Down Stitch.
3. Add a fill to the Hexagon Applique Block to transform it to a quilted hexagon applique block.
4. Create a “Quilted Block” in My Design Center to make the handles for the Tote Bag.
The Traditional Quilt project will use several of the features of the Luminaire.
Further customize your own block by adding an applique element to the top and bottom of the quilted block. Transform each of the twenty hexagon blocks to quilted blocks and use the Joining Strip technique to assemble the blocks.
This project teaches how to:
1. Create an “Outline” around a design,
2. Transforming the “Outline” to a Tack Down Stitch.
3. Add a fill to the Hexagon Applique Block to transform it to a quilted hexagon applique block.
4. Create an “Applique section” in My Design Center to finish off the top and bottom of the block.