Description
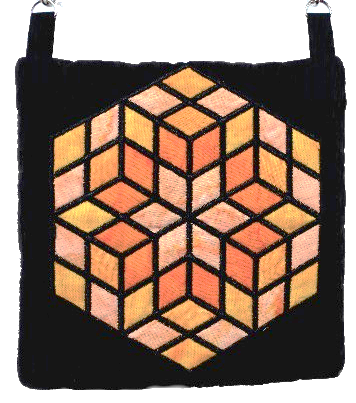
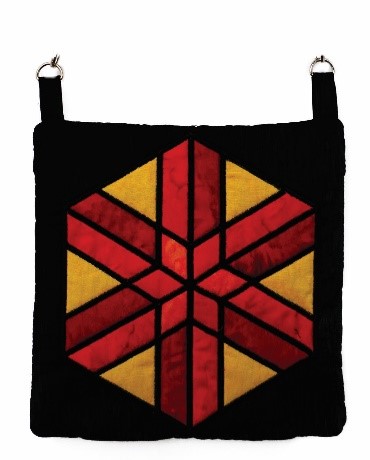
The Mug Rug project uses one of the built-in hexagon blocks. It was used in a class taught to Brother Dealers at Brother’s Back 2 Basics event during August 2018.
The steps used to complete the Mug Rug can be applied to any embroidery/applique design as well as to in addition to the design(s) offered with the Hexagon Program.
This project teaches how to:
- Create an “Outline” around a design
- Transform the “Outline” to a Tack Down Stitch
- Update the stitch sequence to complete the Mug Rug
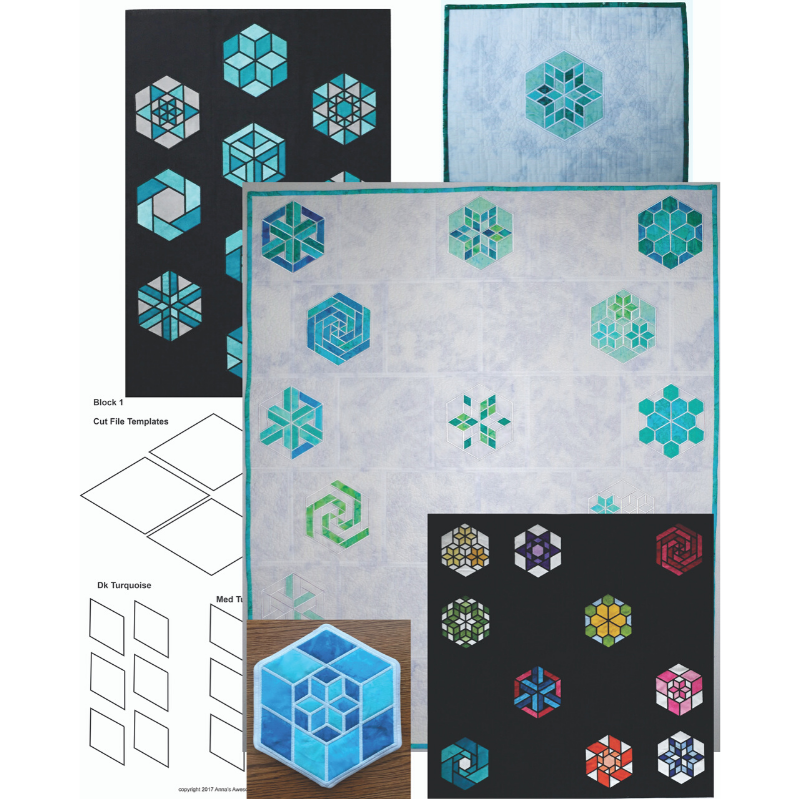
The Modern Quilt project utilizes several of the built-in hexagon to create a waterfall effect modern quilt.
In addition to creating an “Outline”, learn how to add a “Fill” from My Design Center to transform the basic hexagon applique block into a quilted block, then use the Joining Strip technique to assemble the quilted blocks.
This project teaches how to:
- Create an “Outline” around a design
- Transforming the “Outline” to a Tack Down Stitch
- Add a fill to the Hexagon Applique Block to transform it to a quilted hexagon applique block
- Create a “Quilted Block” in My Design Center as a filler block for the quilt
The Placemat project uses one of the built-in hexagon blocks and many of the same techniques as the Modern Quilt project.
It reinforces previous learning and finishes by creating a border around the edges using the Auto-Split Sashing feature.
This project teaches how to:
- Create an “Outline” around a design
- Transforming the “Outline” to a Tack Down Stitch
- Add a fill to the Hexagon Applique Block to transform it to a quilted hexagon applique block
- Create a border using the Auto-Split Sashing feature
The Two Wall Hanging Quilts project provide a quilt top layout for the (10) built-in hexagon blocks on the Luminaire and a quilt top layout using an additional (10) hexagon blocks available through ibroidery.com
The blocks for both quilt layouts are stitched out in-the-hoop resulting in applique blocks that are pieced together using a 1/4” seam allowance.
This project uses the Applique in the Hoop technique:
- Placement Stitch; place Applique Fabric on top of Placement Stitches.
- Tack Down Stitch; to secure the Applique Fabric to the background fabric.
- Trim Applique Fabric; Trim closely to the Tack Down Stitches.
- Cover Stitch; Covering the trimmed edges of the Applique Fabric.